

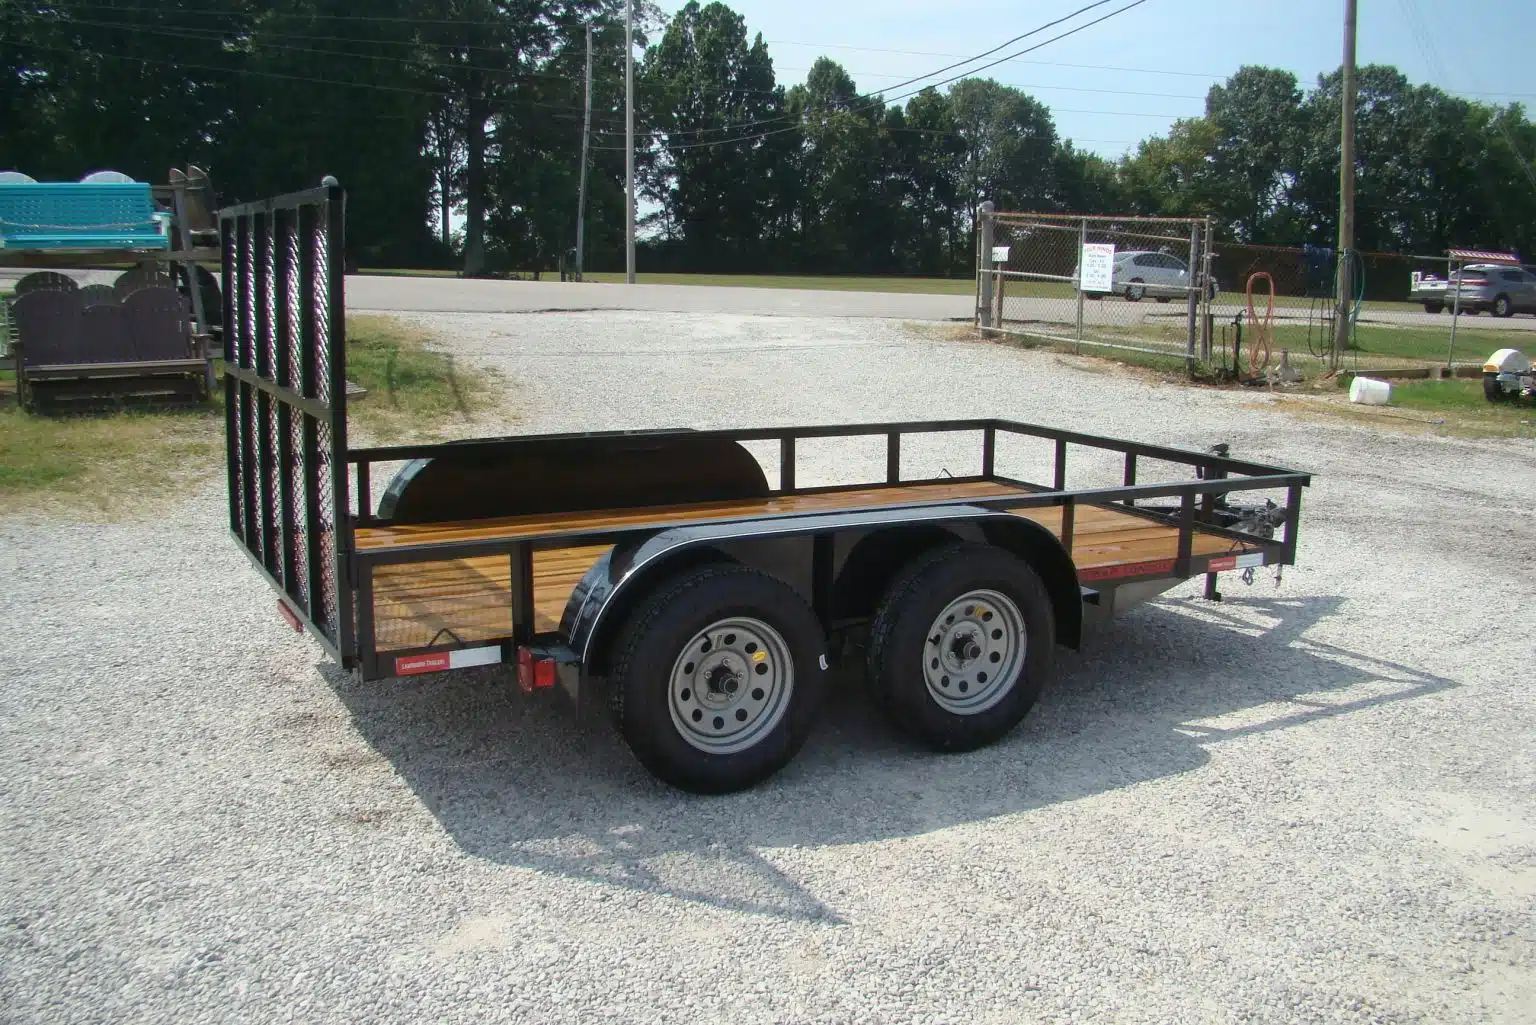
A boat trailer on the Gold Coast lives a hard life because every launch puts steel and wiring in saltwater. Planning a parts replacement means catching damage early and ordering the right marine-grade components before a ramp failure. A clear inspection list with exact specs and a realistic freight and workshop plan will save time and towing trouble.
Why saltwater sets the schedule on the Gold Coast
Saltwater corrosion is the reason trailer parts fail faster near the coast than they do inland. Each dunk at the ramp leaves salt in crevices around springs and fasteners, and that salt keeps working long after the trailer looks dry. Light housings and plugs hold salt too. A quick rinse with fresh water after retrieval slows the process but it doesn’t stop it, so owners need a repeatable plan rather than a one-off fix. Salt finds every weak point. The aim is to replace parts on a planned date instead of on the ramp.
Galvanic corrosion adds a second problem when different metals sit together in saltwater. An old stainless bolt in a galvanized bracket or a new alloy part against tired steel can become a weak point in a single season if the pairing isn’t compatible. Replacement planning needs to account for compatible metals and coatings as well as size and fit. A workshop can advise on suitable pairings before money is spent.
Ramps around the Broadwater and Jacobs Well see constant traffic and frequent dunkings in full-strength saltwater. The same pressure applies near the Seaway where spray and immersion are part of every trip. Trailers that launch weekly in these spots age faster than trailers that launch monthly, even when both look clean from a distance. There’s no prize for stretching tired parts through peak season.
Make a safe walk-around check without pulling things apart
Start with what can be seen from standing height beside the trailer after a fresh-water rinse and a short dry. Look at tires for uneven wear and sidewall cracks. Check that the coupling head moves freely and locks without force. Look at safety chains for stretched links and heavy surface rust. Check that lights and reflectors are intact. Step back and look down each side for a spring that sits crooked or a roller that no longer lines up with the hull.
Don’t climb under the trailer and don’t jack it up in the driveway. Checks inside hubs and brakes need a hoist and hand tools that most owners don’t have at home. The owner’s task is to record what looks off and take clear photos in daylight. Note when the symptom showed up and whether it has changed since the last launch.
Sort notes into two groups as you go. One group is for safety items that stop a tow, such as a coupling that won’t lock, chains with damaged links, brakes that feel wrong and lights that don’t work. The other group is for items to quote and watch, such as tired rollers and dull wiring. Stop towing if safety hardware is suspect. Photos save arguments later.
Park it and call the workshop.
Record specs and photos before you order anything
Find the compliance plate or VIN first and keep it readable in a photo. Note the axle rating and ATM/GTM figures along with the hub pattern and brake type. Note the spring layout as well, because a part that is close but not exact is unsafe and unusable. Don’t guess at ratings. Wrong ratings cause fit problems that only show up at the workshop.
Take photos of each hub and coupling, along with the springs and visible fasteners, from a safe standing position. Capture labels and stamps where they are legible without removing covers or crawling underneath. These images let a supplier or technician confirm fit without a second trip to look at the trailer. Good photos cut down on returns and delays.
Keep the plate photo with the parts list so every quote uses the same specs. If the plate is missing or unreadable, ask the workshop how to verify identity before any order is placed.
Confirm current details with the trailer maker or a qualified technician before money changes hands. Plates can be hard to read after years of salt spray and prior owners sometimes fit nonstandard parts. Match every part to the rating plate and to the advice from the maker or technician, not to what looks similar online.
Plan bearings and brakes with a qualified workshop
Wheel bearings and grease seals live the hardest life on a saltwater trailer. Water finds its way past seals during immersion and heat cycles on the tow home then do the rest, so these parts need planned attention tied to launch frequency. Bearing protectors that hold light pressure on the grease, often sold as bearing buddies, can help keep water out between services, but they don’t replace inspection by a qualified person. Agree on the check interval with the workshop based on how often and where the boat is launched.
Brakes need the same outside help. Many Gold Coast trailers run hydraulic or mechanical systems with discs and calipers, as well as lines and actuators that corrode quietly. Surface rust on a disc looks harmless yet a seized caliper or soft line only shows up under load, so ground-level looks can’t confirm safe operation. Let the workshop lift and test the system and advise whether to service or replace corroded parts.
Tell the service writer what you have seen and share the spec photos and parts list. Ask which faults stop a tow right away and which can be scheduled in order. Don’t tow a trailer with suspect brakes or bearings to the shop on its own wheels if the workshop says it isn’t safe. Arrange the transport method the workshop suggests.
Pick compatible parts that suit marine use
Start with protection against salt. Hot-dip galvanized parts and marine-grade fasteners last longer than plain steel around ramps, and sealed LED submersible lights hold up better than older incandescent units that trap moisture. Check the wiring harness at the same time for brittle insulation and green crust on plugs, because new lights won’t last on tired wiring. Ask the workshop or maker to confirm that chosen metals and coatings are compatible without causing galvanic trouble.
Rollers and bunk slides deserve close attention because flat spots and stiff rotation let the hull sit crooked during retrieval. Composite and marine-grade options resist water uptake better than tired rubber and worn carpet, and they help the boat center cleanly on Gold Coast ramps. Couplings, hitches, safety chains and breakaway cables complete the safety hardware, and all four groups corrode fast when rinsing misses hidden folds. Replace pitted or stretched safety hardware instead of keeping it for another season.
Many owners compare local stock against a specialist source for trailer parts gold coast that can quote on the full list and arrange freight from WA to the Gold Coast. Use the spec photos and rating details to get an exact match on axle, hub, brake and spring parts. Confirm compatibility and lead time in writing before payment so the workshop slot lines up with delivery.
Visible U-bolts and spring hangers can point to hidden rust. Shackles wear quietly and deserve a workshop look during the same visit.
Build freight time and workshop booking into the plan
Freight is part of the job on the Gold Coast when the exact axle or brake setup isn’t on the shelf nearby. Interstate supply can fill the gap, but transit from WA takes days and bulky items like axles and spring sets cost more to move than small parcels. Get the parts list quoted with freight cost and dispatch timing before the boat is booked into a repair slot. That sequence keeps the trailer off the road while parts are in transit instead of sitting at the workshop with no parts.
Peak boating periods and long weekends stretch both supply and workshop availability. If the plan points to a pre-summer refresh or a fix before a holiday trip, start quotes early and lock a workshop date after the realistic delivery window. Share the supplier confirmation and the spec photos with the workshop so the booking covers the right work. There’s no benefit in dropping the boat early if key components haven’t left the warehouse.
If any safety defect is on the list, keep the trailer parked until the workshop has seen it. A coupling that won’t lock, damaged chains, brakes that feel off and failed lights mean the tow is over until cleared. Ask the workshop about safe transport to the site and don’t improvise a tow with rope or a mismatched coupling. Allow time to arrange safe transport.
Keep a simple log and agree the next check
A short service log turns guesswork into a plan. Record the date and work done, along with launch counts and ramp notes for each service. Note which side of the trailer was dunked deepest when that detail is known, because one hub often gets more immersion than the other on shallow ramps. Keep receipts and part numbers with the log so the next quote starts from facts.
Review the log with the workshop at each visit. Talk through how often the boat is launched and whether use is trending up or down. Let the workshop set the next inspection date and the tasks it should cover based on that use pattern and current condition. An agreed date beats a vague plan to check it soon.
Photos of new parts and the invoice date help if a warranty question comes up. Keep those images with the log, not loose on a phone.
Rinse after each trip and store the trailer as level and dry as the site allows. A quick look at lights and tires before each tow takes minutes and catches loose items before they become ramp problems. Small habits protect new parts and keep the log accurate. Don’t skip the rinse just because the trailer looks clean.
Planned replacement beats ramp-side repair every time. Inspect safely from the ground and record exact specs. Let a qualified workshop handle internal checks and set the service intervals. Order compatible marine parts early enough for freight from WA and a sensible workshop date, then log the work so the next replacement is easier to plan.